Imagine a cake that not only tastes incredible but looks like it came straight from a gourmet patisserie. That's the magic an easy strawberry glaze can bring to your kitchen! This simple yet sophisticated topping transforms any ordinary dessert into a showstopper, adding a burst of fresh flavor, vibrant color, and an irresistible sheen. You don't need to be a professional baker to achieve that coveted bakery-style finish; with just a few common ingredients and a little bit of time, you can create a luscious strawberry glaze that will elevate your cakes, cupcakes, and even your beloved strawberry drizzle cakes to new heights. Get ready to impress your family and friends with a homemade touch that tastes as good as it looks.
Why Homemade Strawberry Glaze is a Game-Changer for Your Desserts
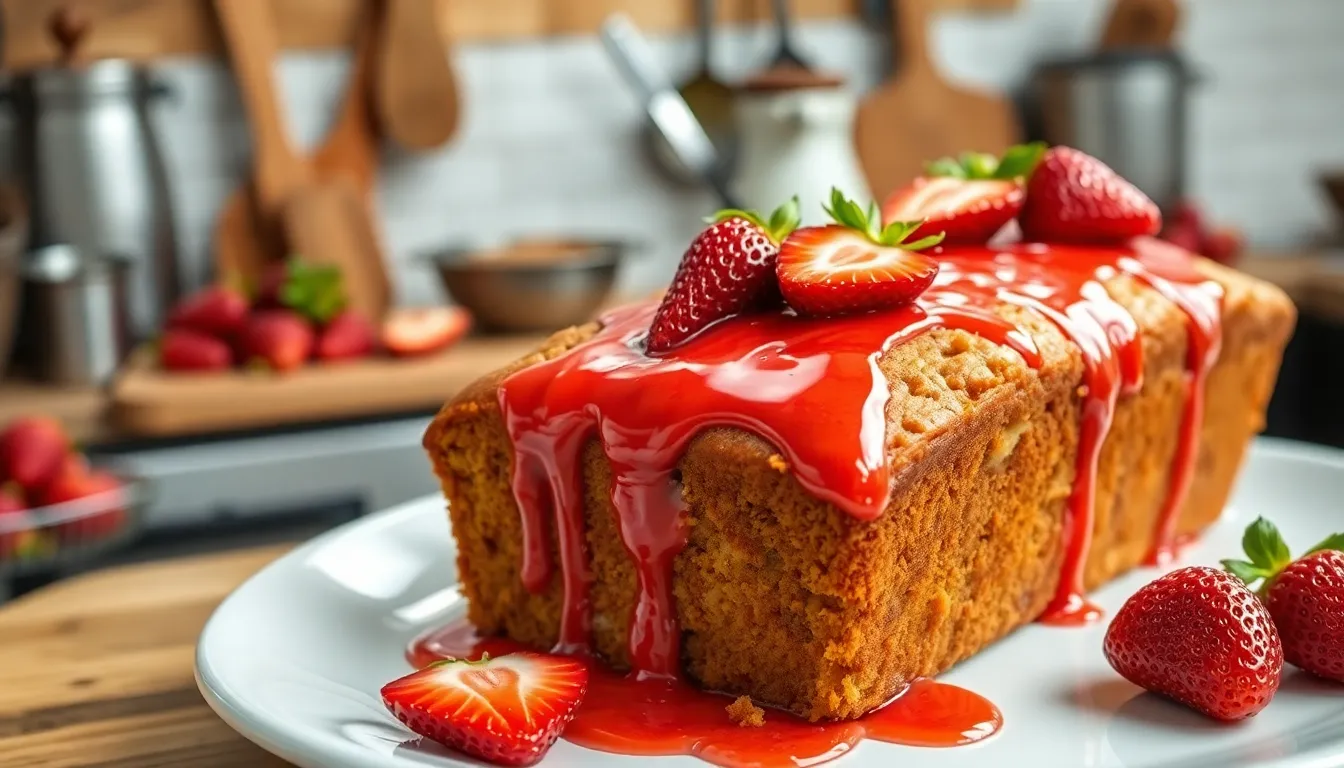
There's an undeniable allure to a dessert adorned with a glistening, ruby-red strawberry glaze. It promises sweetness, freshness, and a delightful tang all in one bite. But beyond the visual appeal, a homemade strawberry glaze offers a multitude of benefits that truly make it a game-changer for your baking:
- Unmatched Freshness and Flavor: Unlike store-bought glazes that often rely on artificial flavors and colors, a homemade version harnesses the natural sweetness and vibrant taste of real strawberries. This results in a cleaner, more authentic flavor profile that truly shines.
- Complete Control Over Ingredients: Making your own glaze puts you in the driver's seat. You can adjust the sweetness level to your preference, opt for organic ingredients, and completely avoid preservatives, high-fructose corn syrup, or synthetic additives.
- Versatility Beyond Cakes: While perfect for glazing cakes and adding a beautiful finish to strawberry drizzle cakes, this versatile topping isn't limited. It’s fantastic over cheesecakes, drizzled on cupcakes, swirled into yogurt, spooned over pancakes or waffles, or even served warm with ice cream.
- Stunning Visual Impact: The glossy, translucent finish and rich color of strawberry glaze instantly upgrade the appearance of any dessert, making it look incredibly professional and appealing.
Whether you're decorating a birthday cake, preparing a special weekend treat, or simply want to add a touch of elegance to an everyday dessert, this homemade glaze is the secret ingredient you've been searching for. The best part? It's incredibly simple to make, proving that extraordinary results don't always require extraordinary effort.
Essential Ingredients for Your Perfect Strawberry Glaze
The beauty of this strawberry glaze recipe lies in its simplicity. You only need a handful of common ingredients to create a truly spectacular topping. Each component plays a crucial role in building the glaze's flavor, texture, and vibrant color:
- Fresh or Frozen Strawberries: The star of the show! Fresh strawberries offer the brightest flavor, especially when in season. However, frozen strawberries work beautifully too, making this a year-round recipe. They break down easily during cooking and often have a more concentrated flavor.
- Granulated Sugar: Provides sweetness and helps create that desirable glossy finish. You can adjust the amount based on the sweetness of your strawberries and your personal preference.
- Water: Helps dissolve the sugar and create the liquid base for the glaze.
- Cornstarch: This is your thickening agent. A small amount of cornstarch mixed with water (a slurry) is essential for achieving the perfect consistency, ensuring your glaze is thick enough to coat your cake without being overly runny.
- Lemon Juice: A squeeze of fresh lemon juice is a game-changer! It brightens the strawberry flavor, adds a subtle tang that balances the sweetness, and enhances the glaze's natural color.
These quantities are generally sufficient for an 8 or 9-inch round cake or a dozen cupcakes. If you plan to make a larger batch or want extra for other uses, simply double the ingredients accordingly. It’s always good to have a little extra for homemade strawberry drizzle for other treats!
Step-by-Step Guide to Crafting Your Strawberry Glaze
Creating this irresistible strawberry glaze is a straightforward process that takes approximately 15-20 minutes from start to finish. Here’s how to do it:
- Prepare Your Strawberries: Begin by washing your strawberries thoroughly. If using fresh, remove the green stems (hull them). Slice them into small pieces. For a smoother glaze, you can chop them finely or even mash them slightly. If you prefer a bit of texture in your glaze, leave them in slightly larger pieces.
- Combine and Cook: Place the chopped strawberries, granulated sugar, and water into a medium saucepan. Heat the mixture over medium heat, stirring occasionally. As the mixture warms, the strawberries will begin to soften and release their juices, creating a beautiful, fragrant syrup.
- Simmer and Thicken: Bring the mixture to a gentle simmer. Continue to cook for about 5-7 minutes, stirring, until the strawberries are very soft and the liquid has thickened slightly. At this point, if you prefer a completely smooth glaze, you can use an immersion blender directly in the saucepan or carefully transfer the mixture to a regular blender and blend until smooth. Be cautious when blending hot liquids.
- Create the Cornstarch Slurry: In a small bowl, whisk together the cornstarch with 1-2 tablespoons of cold water until a smooth, lump-free slurry forms. This step is crucial to prevent lumps in your glaze.
- Thicken the Glaze: Pour the cornstarch slurry into the simmering strawberry mixture, stirring constantly. Continue to cook for another 1-2 minutes, stirring, until the glaze thickens to your desired consistency. It should be thick enough to coat the back of a spoon.
- Add the Final Touch: Remove the saucepan from the heat and stir in the fresh lemon juice. This brightens the flavor and color.
- Cool and Use: Allow the glaze to cool slightly before using. It will continue to thicken as it cools. For best results on cakes, let the cake cool completely before applying the warm (not hot) or room-temperature glaze.
Customizing Your Glaze: Tips for Flavor and Texture
While the basic recipe is fantastic, don't hesitate to personalize your strawberry glaze:
- Adjust Sweetness: Taste the mixture before adding the cornstarch slurry. If your strawberries are very sweet, you might need less sugar. If they're tart, you might want a touch more.
- Flavor Boosters: A tiny pinch of vanilla extract or a hint of almond extract can complement the strawberry flavor beautifully. For an extra citrusy kick, add a whisper of lemon zest along with the juice.
- Color Enhancement: For a more vibrant, intense pink or red color, you can add a drop or two of red food coloring (gel or liquid) at the end, after the glaze has thickened.
- Texture Variations: For an ultra-smooth, professional-looking glaze, pass the finished glaze through a fine-mesh sieve after blending to remove any tiny seeds or fruit fibers. If you love a rustic feel, simply mash the strawberries with a fork during cooking and leave them chunky.
Serving Suggestions and Storage Tips
The versatility of homemade strawberry glaze means you'll find countless ways to enjoy it:
- For Cakes and Cupcakes: Ensure your cake or cupcakes are completely cool before applying the glaze. A slightly warm glaze will flow smoothly and create a beautiful sheen. If the cake is warm, the glaze might absorb or melt.
- Drizzling vs. Pouring: For an elegant drizzle, use a spoon or a squeeze bottle. For a full, glossy coating, pour the warm glaze over the center of your cake and let it cascade down the sides.
- Breakfast Treat: Drizzle over pancakes, waffles, French toast, or oatmeal for a luxurious breakfast.
- Dessert Topping: Spoon over ice cream, panna cotta, cheesecake, or fresh fruit salad.
Storage: Leftover strawberry glaze can be stored in an airtight container in the refrigerator for up to 5-7 days. If it thickens too much in the fridge, you can gently reheat it over low heat on the stovetop or in the microwave (stirring frequently) until it reaches your desired consistency. Add a tiny splash of water if needed to thin it out.
Expert Tips for Glaze Perfection
- Always Use a Slurry: Never add cornstarch directly to hot liquid, as it will clump instantly. Always dissolve it in cold water first to create a smooth slurry.
- Monitor Consistency: The glaze will thicken significantly as it cools. If it seems a little thinner than desired while warm, don't panic – it will firm up. If it's too thick, you can whisk in a tablespoon of water or a tiny bit of lemon juice at a time until it reaches the right consistency. If it's too thin, you can make a small additional cornstarch slurry and cook it into the glaze for another minute.
- Taste and Adjust: Always taste your glaze before the final step. Adjust sugar or lemon juice as needed to strike the perfect balance between sweet and tart.
- Cooling is Key: Patience is a virtue, especially when glazing. Applying glaze to a warm cake will result in a messy, absorbed finish rather than a beautiful, defined layer.
- Don't Overcook: Once the glaze thickens after adding the cornstarch slurry, remove it from the heat. Overcooking can cause the cornstarch to break down, making the glaze thinner.
With this comprehensive guide, you’re now fully equipped to create a stunning, flavorful strawberry glaze that will make your desserts, especially your strawberry drizzle cakes, truly unforgettable. Say goodbye to plain cakes and hello to bakery-quality creations right from your own kitchen. Enjoy the process, and get ready for rave reviews!
